
How to read a verification result
A session result is a status plus a result per check plus a list of warnings - the warnings are the part that tells you what actually happened.
Read it in this order: the overall status, then the per-check statuses, then the warnings. The warnings are the only part that tells you why - everything else just tells you what.
Open any session from Verifications in the Business Console and you get the same three layers, whether you're looking at the console, a webhook payload, or an API response.
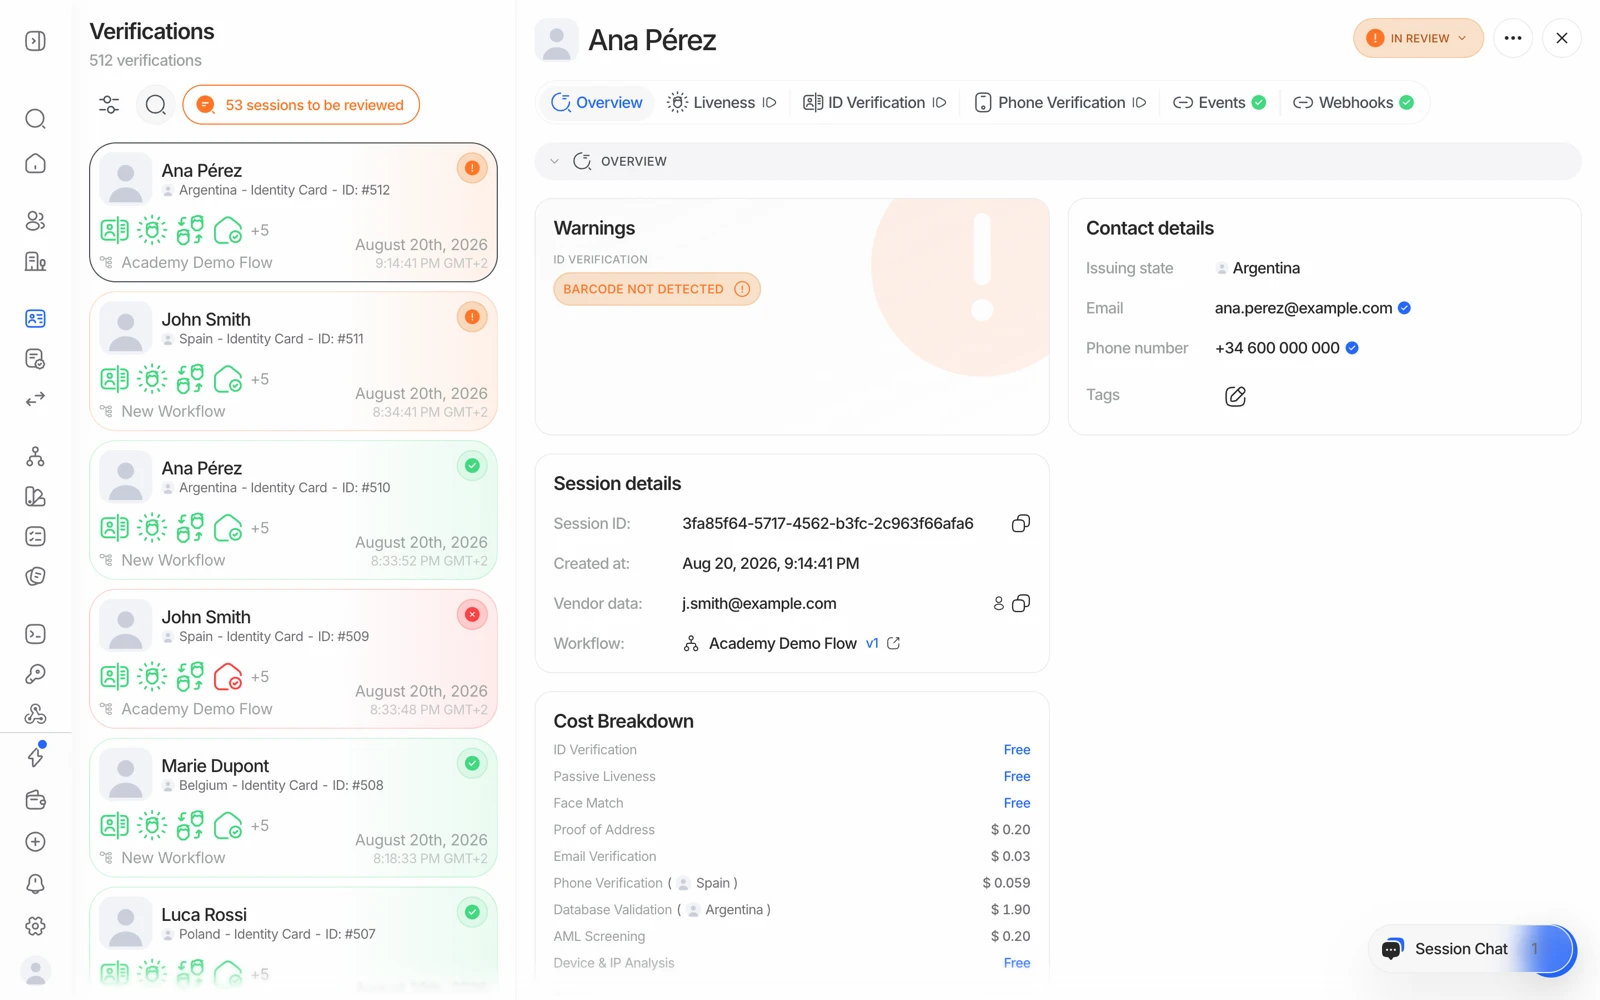
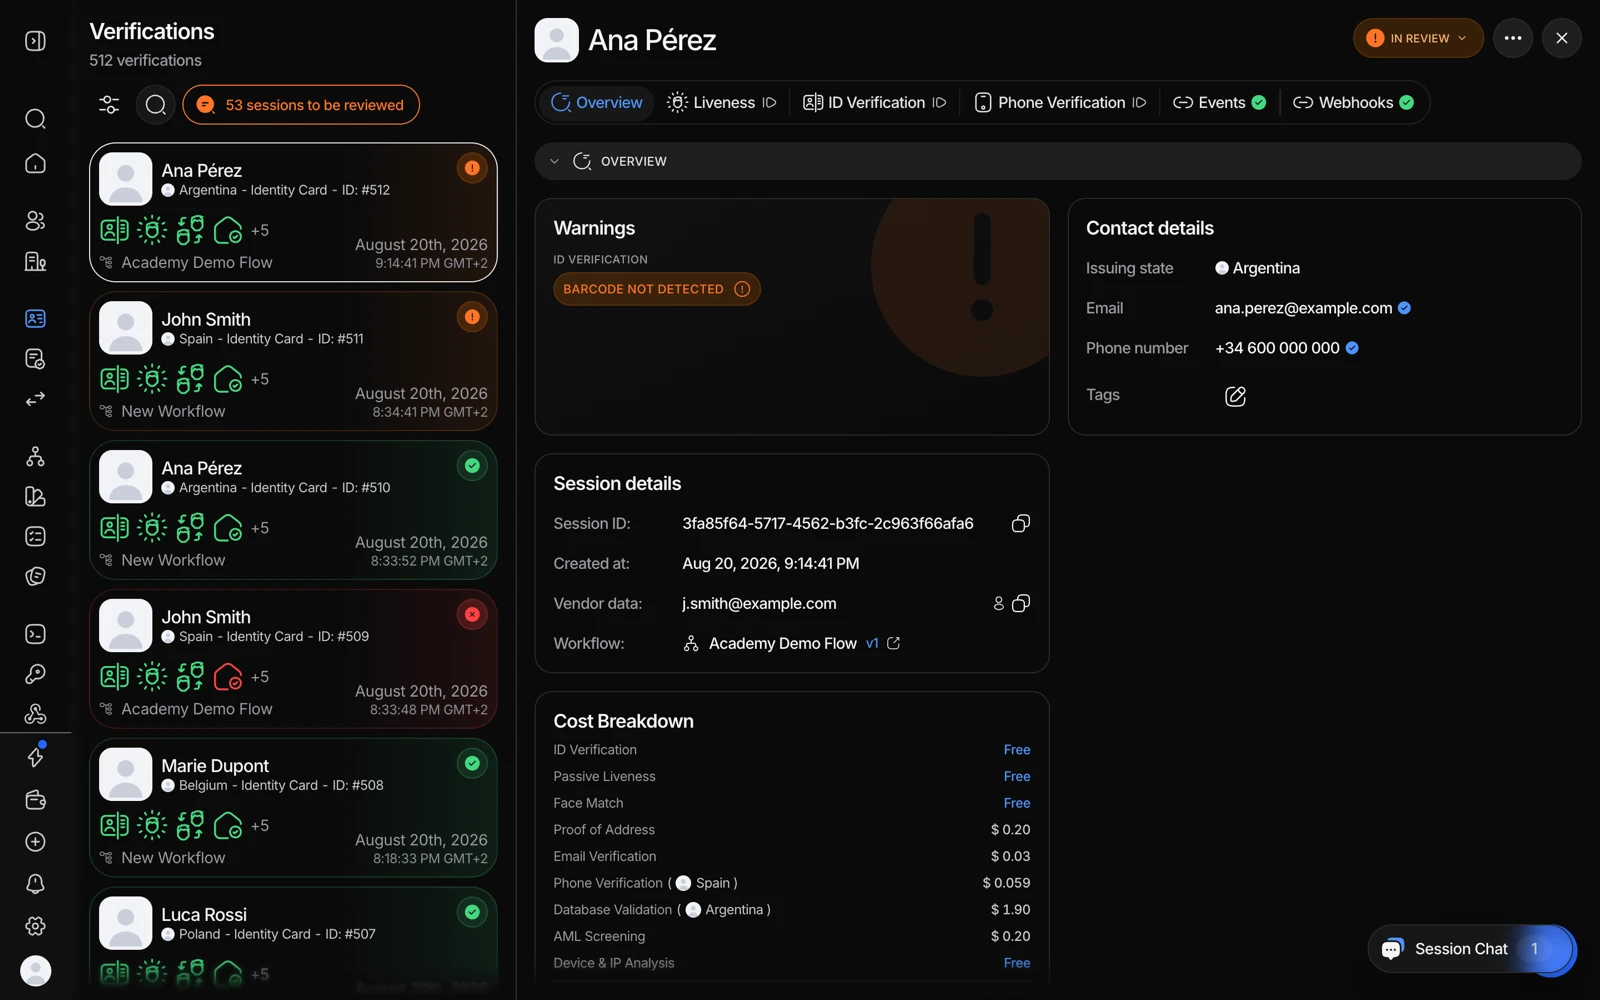
- Start here: the decision, and the checks that produced it.
- Liveness holds the selfie result and the face-match score.
- The document tab shows what was extracted and which fields matched.
- Events explains how the session reached its current status.
#Layer 1 - the overall status
The single verdict for the session: Approved, Declined, In Review, and so on. This is what most integrations act on. It is an aggregate: it comes from combining every check's outcome according to how your workflow is configured, so it never tells you which check was responsible.
#Layer 2 - one result per check
Each check that ran has its own status and its own data. The ones you'll see most:
| Check | What to look at |
|---|---|
| ID verification | Extracted fields (name, document number, dates), document type and country, and whether the MRZ validated |
| Passive / active liveness | Whether a live human was detected, and any attack signal |
| Face match 1:1 | The similarity score between the selfie and the document photo |
| Face search 1:N | Whether this face matches an already-verified user or a blocklist entry |
| AML screening | The hits, each with a match score and a risk score |
| Device and IP analysis | Country, VPN or proxy signals, blocklisted addresses |
| Proof of address | The extracted address and how well it matched what you provided |
| NFC | Whether the chip was read and whether its signature chained to a trusted issuer |
| Phone / email | Whether the OTP was confirmed, plus risk signals on the number or address |
A check can be Approved while the session is Declined, and the reverse. That's normal - the session status is the combination, not the worst case.
#Layer 3 - the warnings
Warnings are the layer that actually explains the outcome. Each is a specific named code attached to the check that raised it - for example:
DOCUMENT_EXPIRED- the ID's expiry date has passed.MRZ_VALIDATION_FAILED- the machine-readable zone's checksum didn't hold. A strong tamper signal.LOW_FACE_MATCH_SIMILARITY- the selfie and document photo scored below your threshold.LIVENESS_FACE_ATTACK- a presentation attack was detected during the selfie.POSSIBLE_MATCH_FOUND- AML found a candidate hit that needs resolving.NFC_DATA_DOES_NOT_MATCH_OCR- the chip and the printed data disagree.IP_ADDRESS_IN_BLOCKLIST- the connection came from an address you block.
When you're debugging one specific session, go straight to the warnings. The status tells you the conclusion; the warnings tell you the evidence. Every per-feature warning catalogue is documented under core technology.
#Extracted data vs. what you expected
If you passed expected_details when creating the session - a name, a date of birth, a document number you already hold - the result also tells you whether the document agreed with it. A mismatch there is usually a data-entry problem on your side rather than a fraudulent document, so it's worth checking before you decline anyone.
Extracted names can be transliterated. A document in Cyrillic, Arabic, or Greek script produces a Latin-script name that may not match your records character-for-character even when it's the same person. Compare on the document number or date of birth as well before treating a name mismatch as fraud.
#Name fields showing "unknown"
The identity fields - name, date of birth, document number - are filled by the ID verification check. If a session ran without that check, or a reviewer approved it manually before the document was read, there is nothing to fill them from, and they stay unknown. Manual approval changes the status; it doesn't backfill the extracted data.
#Sandbox results look slightly different
In a sandbox session, the console marks the extracted-data sections with a Simulated data chip. The media was really captured, but the fields and the outcome came from the scenario you picked - so don't read anything into the values themselves. See testing in sandbox.
#Getting the same thing programmatically
The webhook payload and GET /v3/session/{id}/decision/ carry all three layers in one decision object. Treat the webhook as your source of truth and poll only for reconciliation - some events, like data edits made by a reviewer, only ever arrive by webhook. See getting results with webhooks.
#Getting a copy for your records
For audits and regulatory filings, download the session as a PDF - it bundles every step, the extracted data, the biometric scores, the AML results, and the final decision. See downloading a verification report.