Face match returns a similarity score and you decide what happens at each band. Set review and decline thresholds without flooding your queue or missing fraud.
Face match returns a similarity score, not a yes or no. You set two thresholds: below the decline threshold the session is declined, between the two it goes to review, above the review threshold it passes. Where you put them is a policy decision, and it is the main lever on both your fraud rate and your review queue.
#What the score means
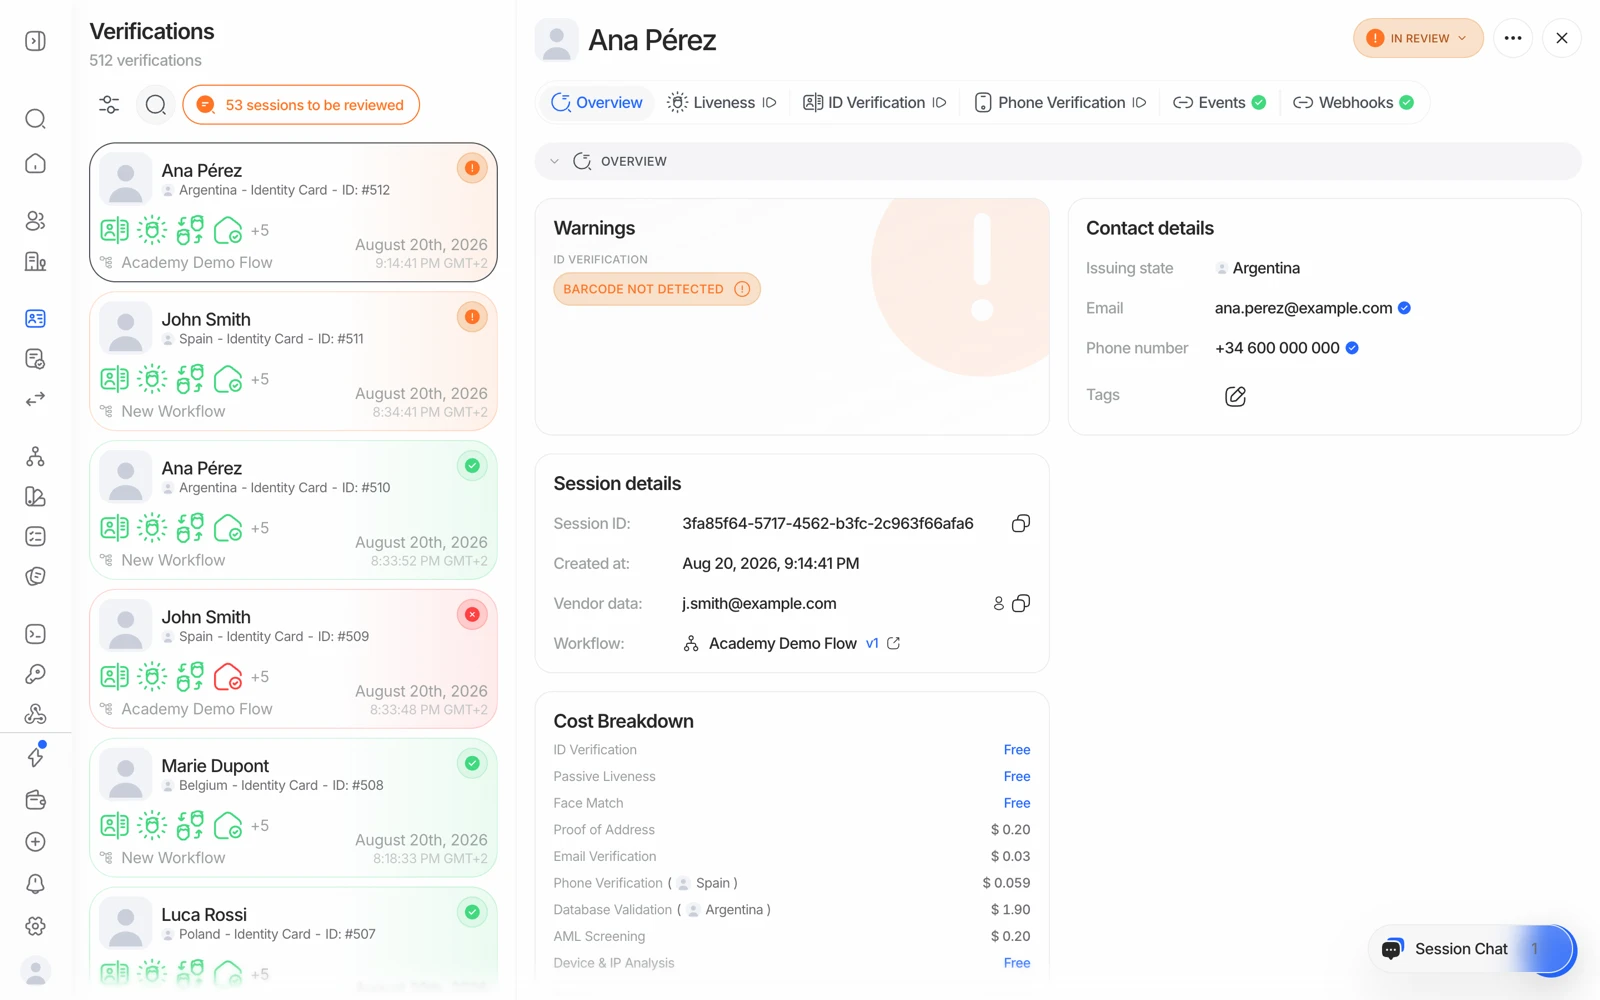
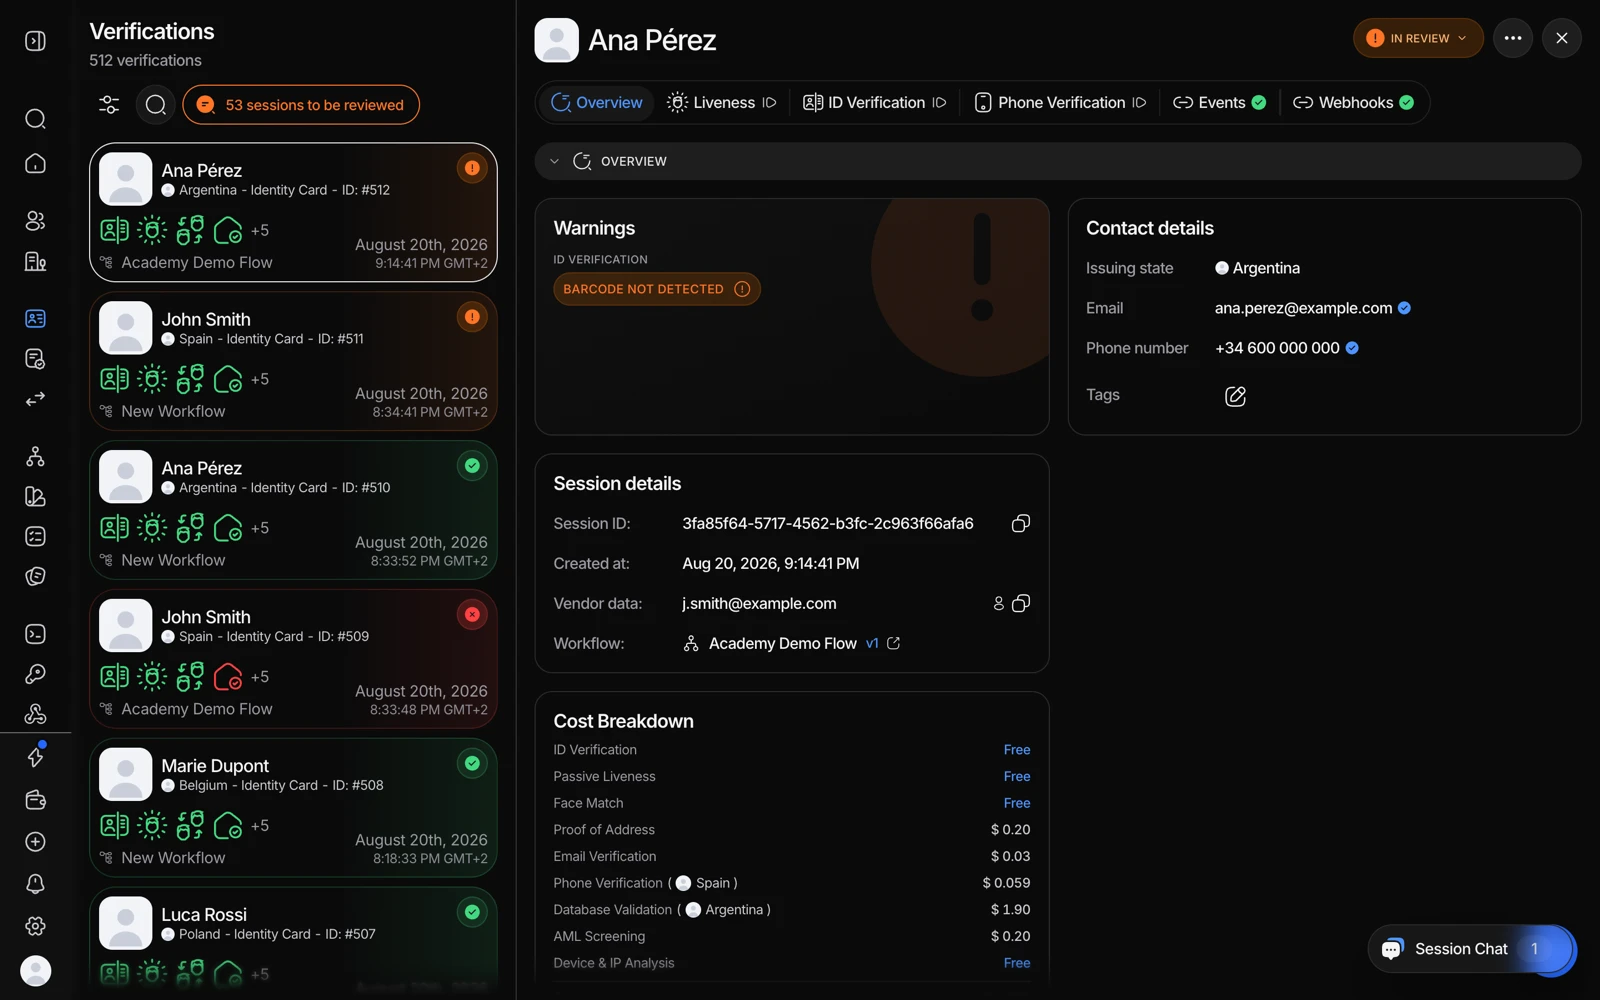
Face match 1:1 compares the selfie against the portrait on the document and returns a similarity score. It is a measure of how alike two faces are - it is never a certainty about identity, because no biometric comparison is.
That's why the platform gives you two thresholds instead of one verdict.
#The three bands
| Band | What happens |
|---|---|
| Above the review threshold | Passes automatically |
| Between the two thresholds | Session goes to In review for a person to decide |
| Below the decline threshold | Session is declined automatically, with LOW_FACE_MATCH_SIMILARITY |
Both thresholds are set on the face match step in your workflow, so different workflows can carry different risk appetites - a high-value account opening flow and a low-risk age check don't need the same settings.
#What actually depresses a legitimate score
Before tightening anything, know what moves the score for genuine users:
- Age of the document photo. A portrait taken ten years ago is genuinely less similar.
- Print and scan quality. Some countries print small, low-contrast portraits; a worn card is worse again.
- Occlusion. Glasses, hats, heavy makeup, a beard that wasn't there before.
- Lighting and camera. A dim room and a cheap front camera both cost similarity.
None of these is fraud, and all of them are more common in some markets than others. If your users skew toward older documents, a threshold tuned on fresh passports will decline real people.
#Choosing the thresholds
The tradeoff is symmetrical and unavoidable:
- Tighter thresholds catch more impostors and send more genuine users to review or decline.
- Looser thresholds pass more genuine users and let more impostors through.
A practical way to set them:
- Start with the defaults and collect data
Run real traffic through the defaults for a few hundred sessions before changing anything. You cannot tune on intuition.
- Look at what landed in review, and why
Open the review-band sessions. If a reviewer approves nearly all of them, your review threshold is too high - it's generating work with no decisions in it.
- Look at the declines
If declined sessions are mostly genuine users with old documents, your decline threshold is too high for your population.
- Move one threshold at a time
Change one, keep the other, and re-measure. Moving both at once tells you nothing about which mattered.
Do not tune the threshold to make one specific complaint go away. A single declined user is not a signal, and loosening a threshold to clear one case loosens it for every impostor too. Fix individual cases with a manual review decision or a resubmission; change thresholds only on a pattern.
#Widening the review band is not free
A wide review band feels safe - nothing is declined automatically, a human sees everything borderline. In practice it converts a decision problem into a staffing problem: the queue grows, the reviews get less careful, and the effective decision quality drops. See sessions stuck in review.
#A stronger check beats a better threshold
If face match is your weak point, the highest-leverage change is usually not the threshold at all:
- NFC reads the portrait from the document's chip - the issuer's own image, at full quality - which removes the print-degradation variable.
- Active liveness raises the cost of a presentation attack, so a borderline score is less likely to be an attack in the first place.
#Testing your thresholds before going live
Sandbox has scenarios for exactly this: decline_face_match_low_similarity for a clear failure and review_face_match_borderline for a score inside the review band. Use them to confirm your workflow routes each band where you think it does before real users hit it. See testing in sandbox.
Still stuck? Talk to a human.
Include your organization ID and the session ID you are asking about.