
What is Didit and how does it work
Didit is an identity verification platform that lets businesses check who their users are - KYC, KYB, AML screening and transaction monitoring, built on no-code workflows.
Didit checks who your users are. You assemble the checks you need in a visual workflow, send people to it with a link, an SDK, or the API, and Didit returns a decision - Approved, Declined, or In Review - along with everything it found.
Didit is an identity verification platform. Businesses use it to confirm who their users are, screen them against watchlists, verify companies they work with, and keep monitoring activity after onboarding - all from one platform.
#What you can check with Didit
Didit covers the full identity lifecycle for a business, in one place:
- KYC (know your customer) - verify a person's identity document, confirm they're a live human with a selfie, and match the selfie to their ID.
- KYB (know your business) - verify a company: registry lookup, ownership structure, and the people behind it.
- AML screening - check people and businesses against sanctions, PEP, and adverse media lists.
- Transaction monitoring - screen transactions in real time for risk after a user is onboarded.
You don't need to buy these as separate products. They run on the same underlying platform, so you can combine whichever checks your use case needs.
#The checks you can turn on
Each check is a module you enable or leave off. The full set:
| Category | Modules |
|---|---|
| Document | ID verification, NFC chip reading, Document AI, proof of address |
| Biometric | Passive liveness, active liveness, face match 1:1, face search 1:N, biometric authentication, age estimation |
| Contact | Phone verification (OTP), email verification |
| Data | Database validation against authoritative sources, questionnaires |
| Risk | AML screening, ongoing AML monitoring, device and IP analysis |
| Business | Business verification (KYB), company AML, key people and UBOs |
| Post-onboarding | Transaction monitoring, wallet screening, Travel Rule |
You only pay for the modules you switch on, and only when one actually completes. Each of the four core KYC checks is free for its first 500 uses each month. See how pricing and credits work.
#How you put it together
You design your verification flow visually, without writing code, using the Workflows builder in the console. A workflow strings together the checks you need - for example, ID scan, then liveness, then AML - in order, with branching logic if you need it.
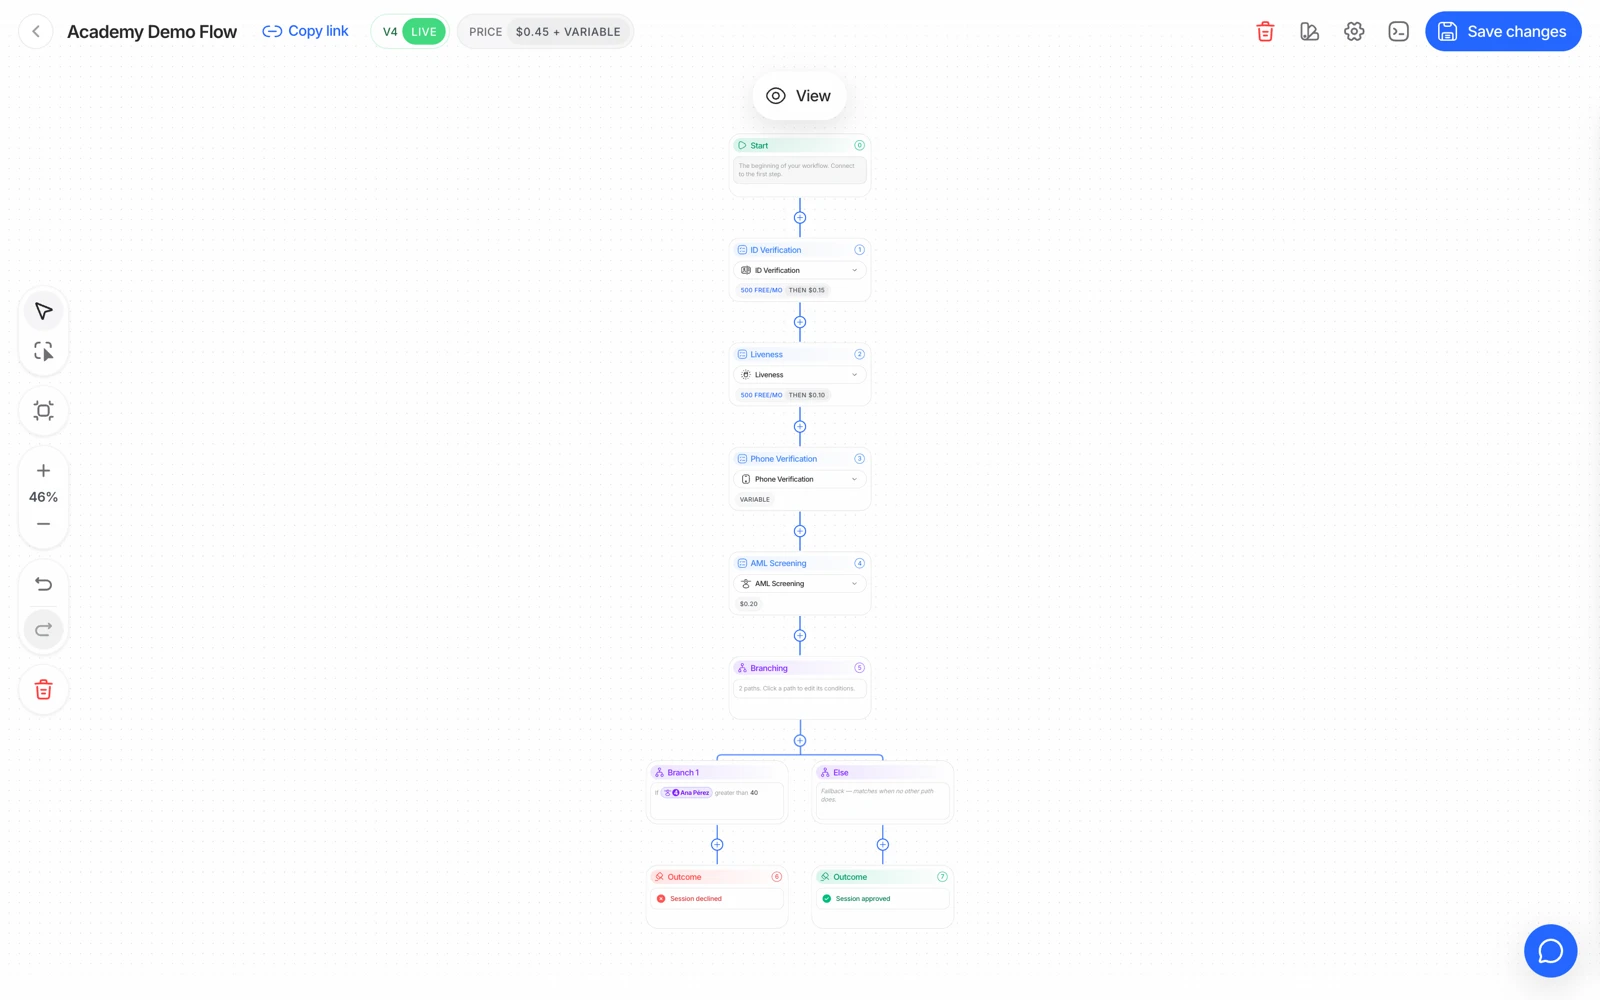
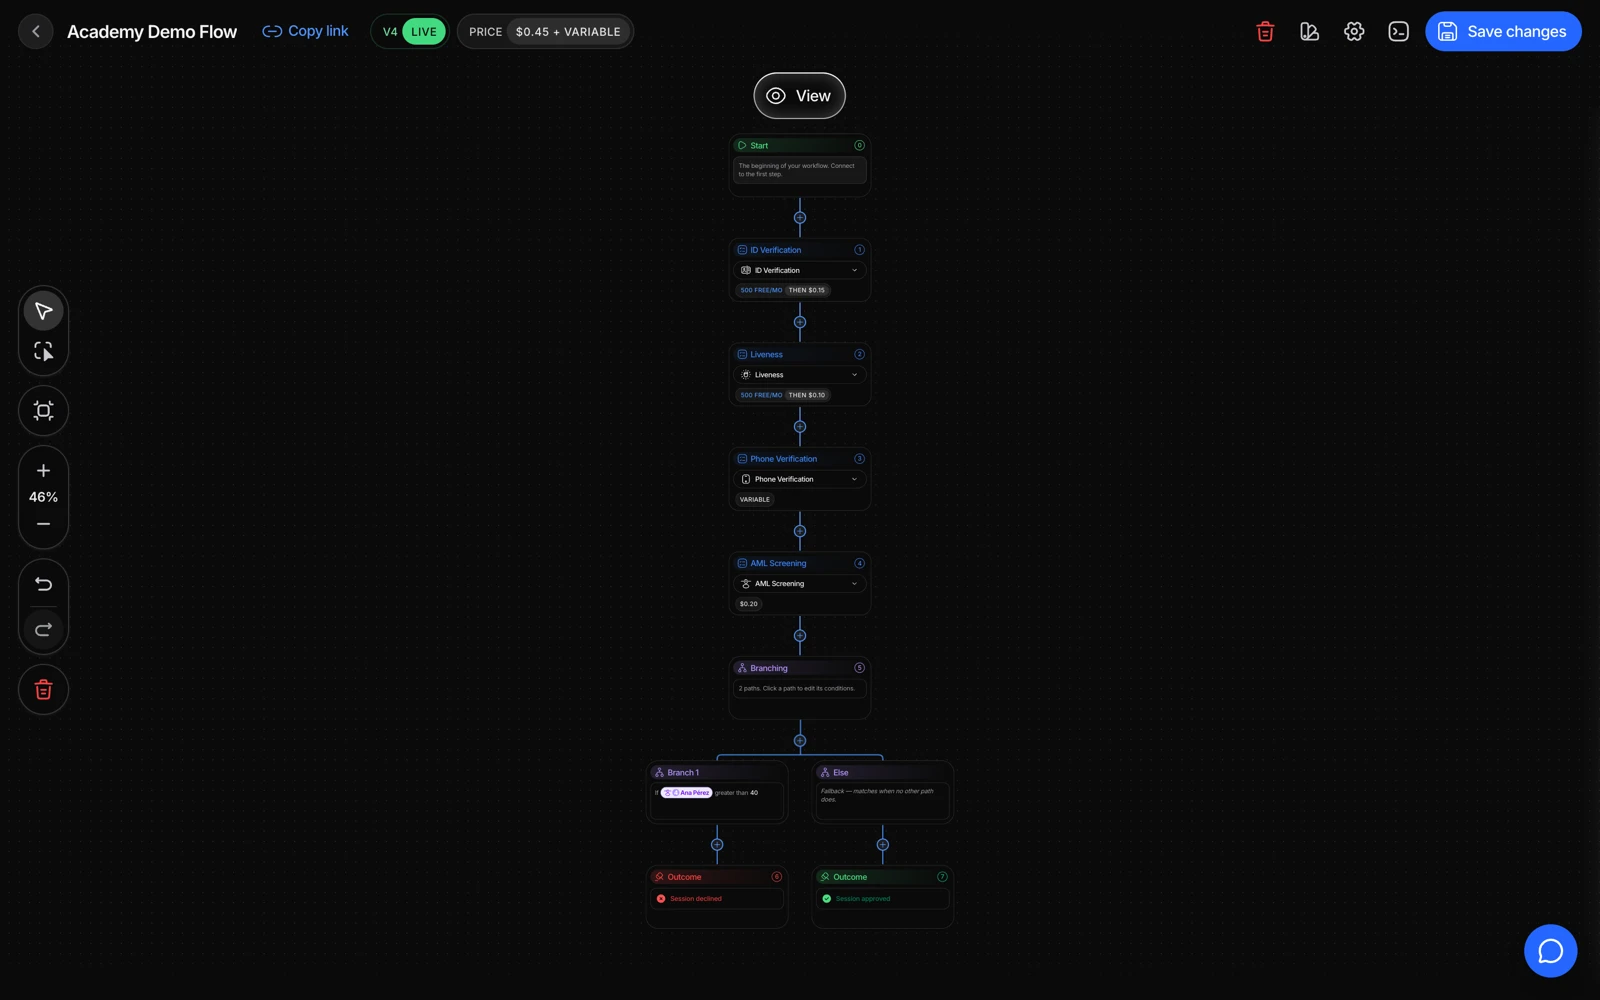
- A workflow is a chain of checks; each node is one check.
- Add or remove a check and every new session follows the new flow.
- The flow carries its own price: the sum of the checks it runs.
Once a workflow is built, you can send users to it in two ways:
- Verification links - a hosted, no-code URL or QR code you share with a user, generated straight from the console.
- API or SDK - call the API directly or drop in a mobile/web SDK to launch verification inside your own product.
Either way, Didit hosts the verification screens, runs the checks, and sends you the result.
#What you get back
Every verification produces a session, and every session ends with a status - the most important being Approved, Declined, and In Review. Alongside the status you get the extracted document data, the biometric scores, any AML hits, and a list of warnings explaining exactly why the session landed where it did.
Results reach you three ways: in the console, pushed to your backend by webhook, or by asking the API. See what each session status means.
#Where you manage it
Everything - workflows, verification results, team access, and billing - lives in the Business Console at business.didit.me. See Finding your way around the console for a tour.
#How pricing works
Didit has a free monthly tier and pay-per-check pricing beyond it - you're not locked into a contract or a minimum spend to get started. See What the free plan includes for the specifics.
#Getting started
Ready to try it? Create your account and run your first verification walks through signing up and launching your first check. If you want to test without spending anything, start with testing in sandbox.