
Create your account and run your first verification
Sign up at business.didit.me, build a workflow, and launch your first identity verification - no credit card and no sales call required.
Sign up at business.didit.me, create a workflow, then generate a verification link and open it yourself. That is a complete end-to-end verification with no code, no card, and no sales call.
You can create a Didit account and run your first verification yourself, in a few minutes, without talking to sales.
- Sign up
Go to business.didit.me and sign up with Google SSO, a passkey, or an email and password.
- Create your organization
Your organization is where your team manages workflows, API keys, and verification activity. You'll be prompted to create or join one when you first sign in.
- Build a workflow
In the console sidebar, go to Workflows and click Create New. Pick a template (for example, standard KYC) and toggle the checks you want - ID document, liveness, face match, AML, and more. No code required. See building a verification workflow for more detail.
- Launch a verification
The fastest way to test your workflow is a verification link: from the console, create a verification, select your workflow, and you'll get a unique URL and QR code instantly. Open the link on your phone or send it to a test user - no frontend code needed.
- Check the result
Once the session completes, you'll see the result in Verifications. If you've connected a webhook, you'll also get it pushed to your backend automatically - see getting results with webhooks.
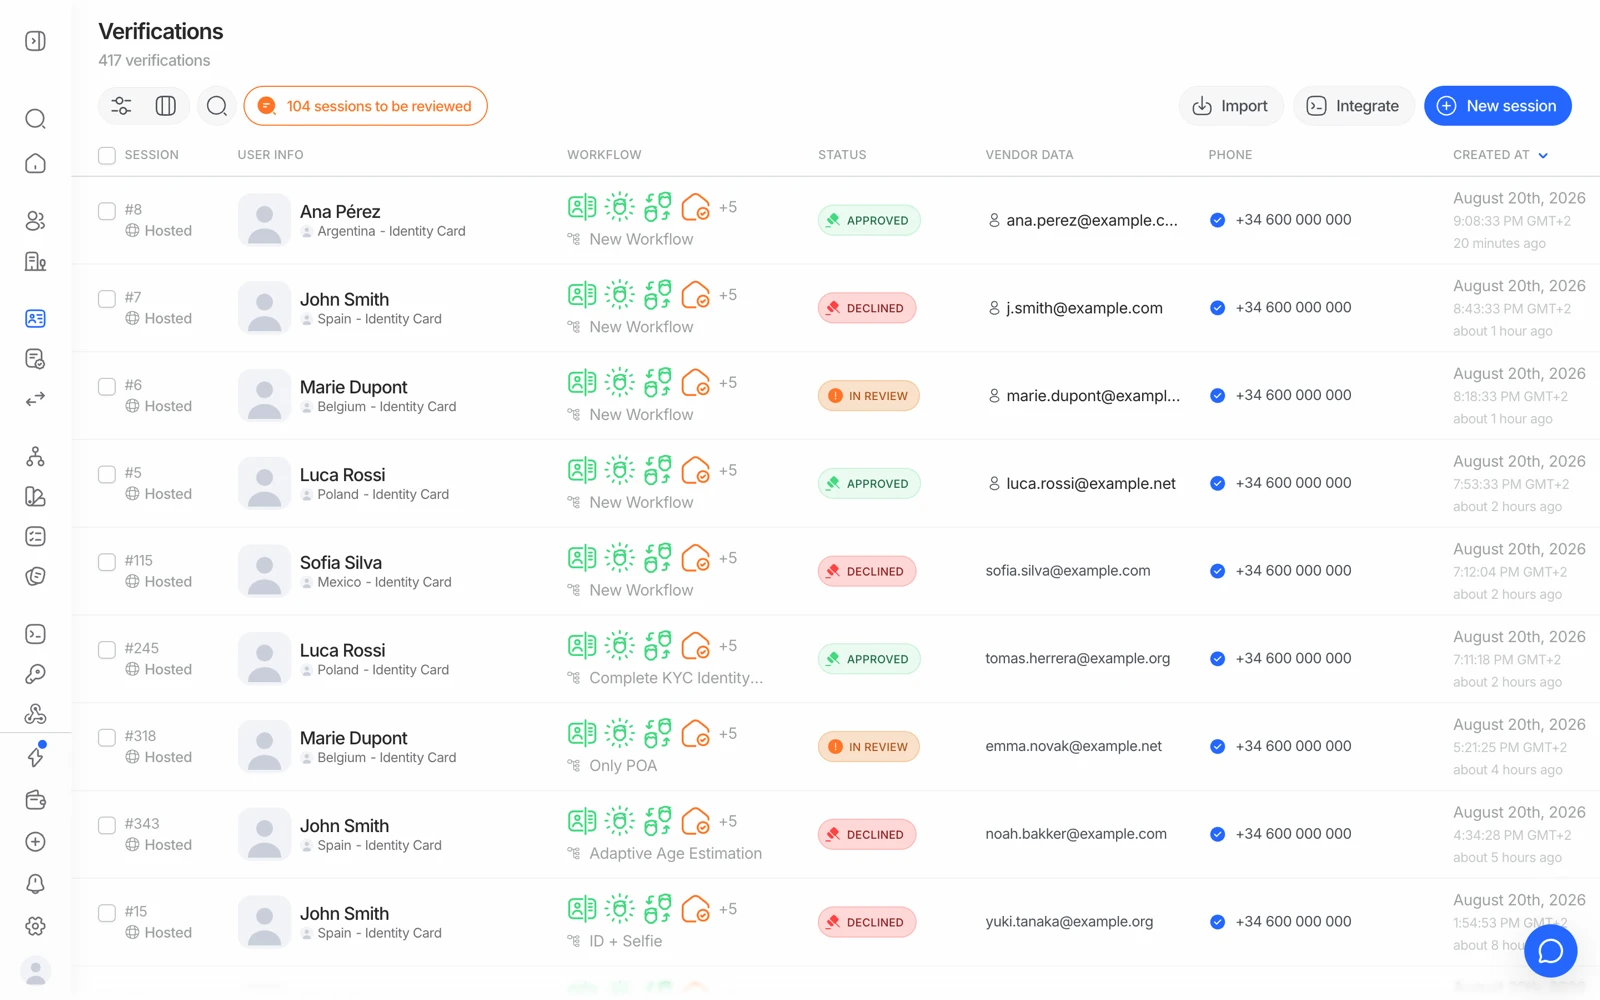
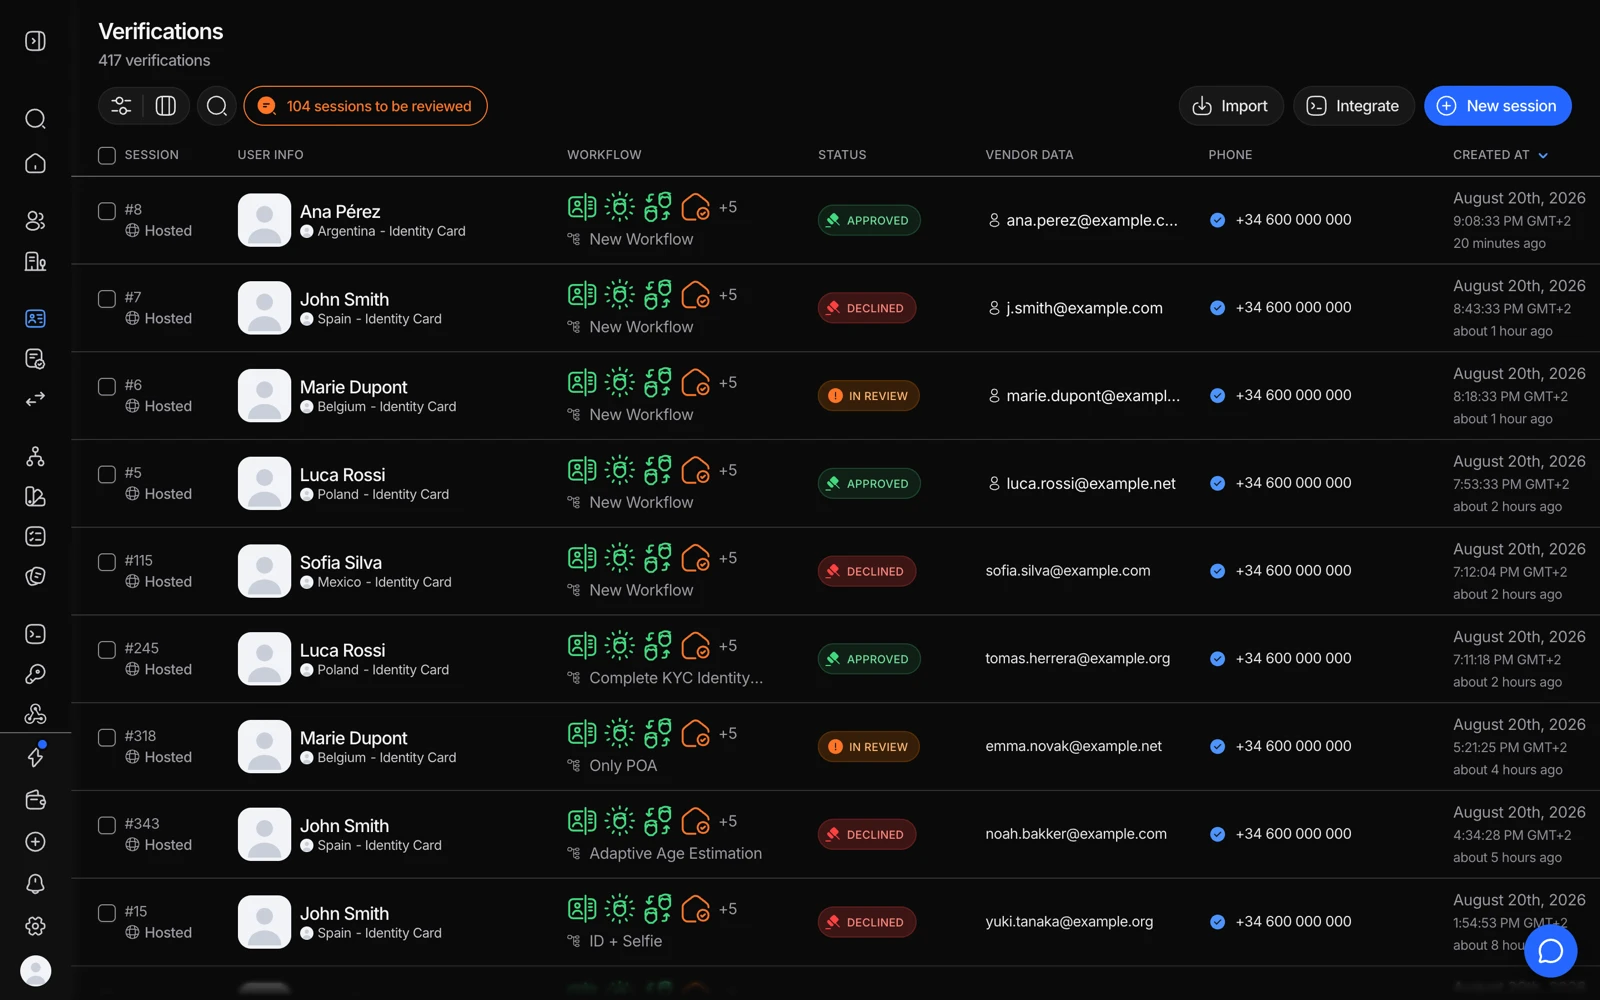
- This is where sessions land once your first verification runs.
- Filters and columns are how the list stays usable as volume grows.
- Columns picks which fields the list shows.
#Test it without spending credits
If your first workflow includes a paid module, or you simply want to rehearse the failure cases before real users see them, create a sandbox application instead. Sandbox sessions are never billed and you can force any outcome - expired document, AML hit, low face match. See testing in sandbox without spending credits.
#Where your API key is
If you plan to integrate via API or SDK instead of (or alongside) verification links, your API key lives under API & Webhooks in the console sidebar, scoped to the Application you're working in. See managing your API keys.
#What your free tier covers
New organizations start on the free plan: 500 free checks a month for each of ID verification, passive liveness, face match 1:1, and device and IP analysis, plus full console access. See what the free plan includes - it also explains why a workflow with AML, NFC, or white label asks you to top up.
#If something looks wrong
If you sign in and the console looks empty, shows an error, or verification history seems missing, this is not something you did - it's worth reporting rather than troubleshooting on your own. See logging in and recovering access, or reach out to support directly so the team can check your organization.
#Next step
Once you've run a test verification, take a tour of the console layout in finding your way around the console.