Sign up at business.didit.me, build a workflow, and launch your first identity verification - no credit card and no sales call required.
Sign up at business.didit.me, create a workflow, then press New verification and open the link yourself. That is a complete end-to-end verification with no code, no card, and no sales call.
You can create a Didit account and run your first verification yourself, in a few minutes, without talking to sales.
- Sign up
Go to business.didit.me and sign up with Google, Microsoft, GitHub or Apple, your company's single sign-on (Continue with SSO), or a work email and password. With email, you confirm it with an 8-digit code that expires after 10 minutes, and can then add a passkey for faster sign-in (or Skip for now).
- Create your organization
Your organization is where your team manages workflows, API keys, and verification activity. When you first sign in, you're offered any invitation waiting for your email (Accept and open), or asked to create an organization, and then to name your first application and choose what it's for. A Get started checklist at the bottom of the sidebar then walks you through the rest.
- Build a workflow
In the console sidebar, open Identity verification → Workflows and click New workflow. Pick a template (for example, standard KYC) and toggle the checks you want - ID document, liveness, face match, AML, and more. No code required. See building a verification workflow for more detail.
- Launch a verification
Press New verification (on Home, the verifications list, or a person's profile), pick a workflow, add your own ID for the person under Vendor data, and press Create verification. Then send the link by email, copy it, or show the QR code. The Single check tab runs one check, such as AML screening, without a whole workflow.
- Check the result
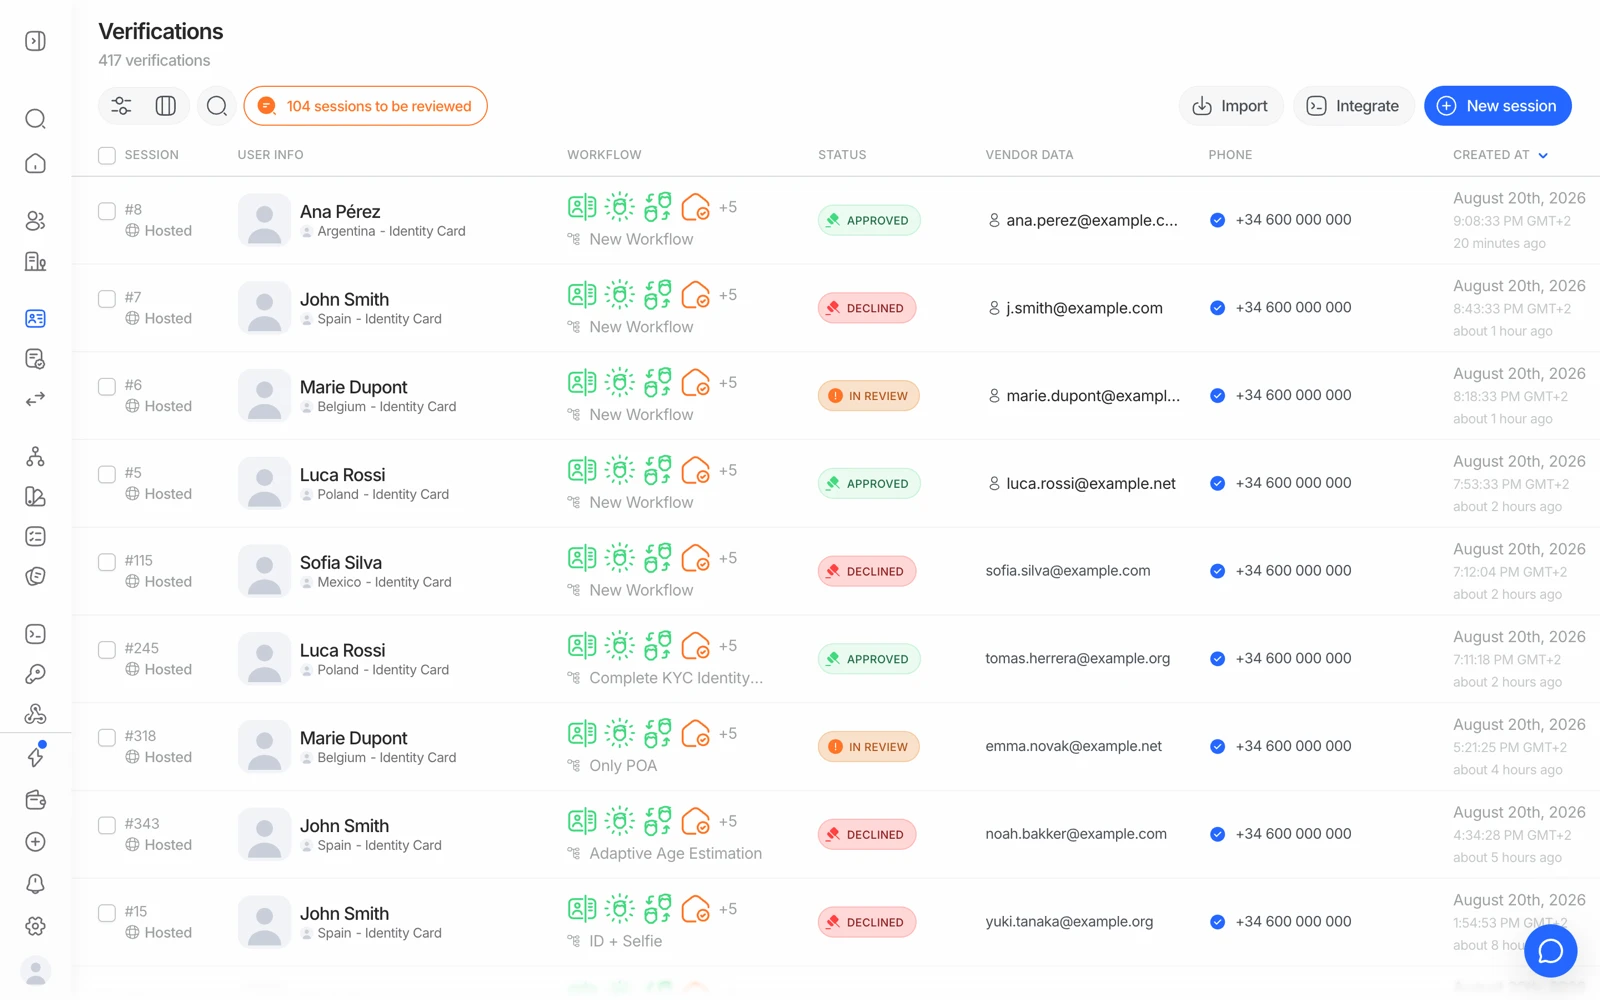
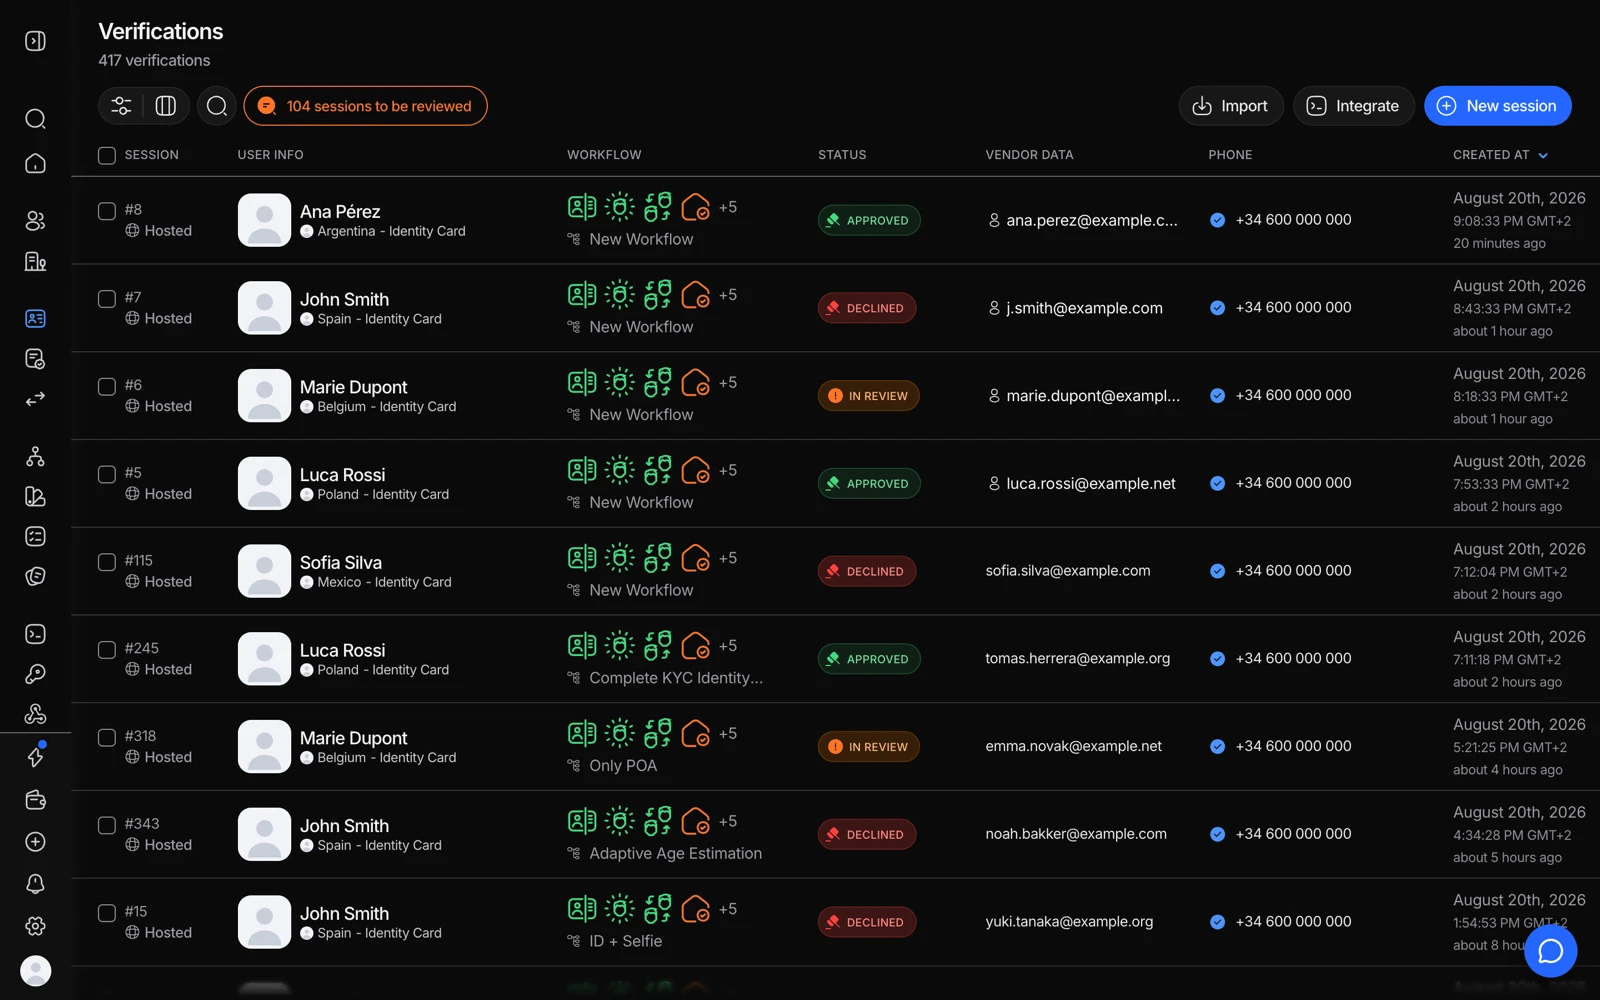
Once the session completes, you'll see the result in Identity verification → User verifications. If you've connected a webhook, you'll also get it pushed to your backend automatically - see getting results with webhooks.
#Test it without spending credits
Switch the console to Sandbox with the pill under your application's name, create a sandbox API key there, and use it. Every check is mocked, nothing is billed, and you can force any outcome you want. Sandbox keeps its own data, keys, webhooks and lists, apart from Live.
#Where your API key is
Developers → API keys, scoped to the application you have selected. Every application has a Primary key, and you can create more, one per service, each with its own access and expiry. A key is a server-side secret: never in frontend code or an app bundle.
#What your free plan covers
The Free plan adds $10 of credit on the 1st of every month, usable on any check, about 30 full KYC checks at list price. It is for organizations that signed up with a work email, it expires at the end of the month, and it replaced the old monthly free checks. Billing and plan shows your credit for the month.
#If something looks wrong
If you sign in and the console looks empty, shows an error, or verification history seems missing, this is not something you did - it's worth reporting rather than troubleshooting on your own. See logging in and recovering access, or reach out to support directly so the team can check your organization.
#Next step
Once you've run a test verification, take a tour of the console layout in finding your way around the console.
Still stuck? Talk to a human.
Include your organization ID and the session ID you are asking about.