
Customizing branding and the verification experience
Match the hosted verification screens to your brand with colors, logo, fonts and custom text - and remember the toggle that has to be enabled per workflow.
Design the style in White Label → Style Editor, then enable Include custom style on each workflow you want it applied to. That second step is the one people miss - without it the workflow still shows default Didit branding. Custom branding adds $0.20 per completed verification.
You can replace Didit's default look on the hosted verification screens with your own colors, logo, fonts, and text. This is done in the Style Editor, and it's a two-step process: design your style, then turn it on for the workflow you want it to apply to.
#What you can customize
- Colors - buttons, text, panels, and backgrounds; every color element
- Typography - fonts that match your brand
- Logos - square and rectangular versions
- Layout - border radius for panels and buttons
- Login screen - show it or skip it
- Text - override the wording on specific screens, and change how the completion screen behaves
- Domain - host the flow on your own subdomain instead of
verify.didit.me, covered in white label and custom domain
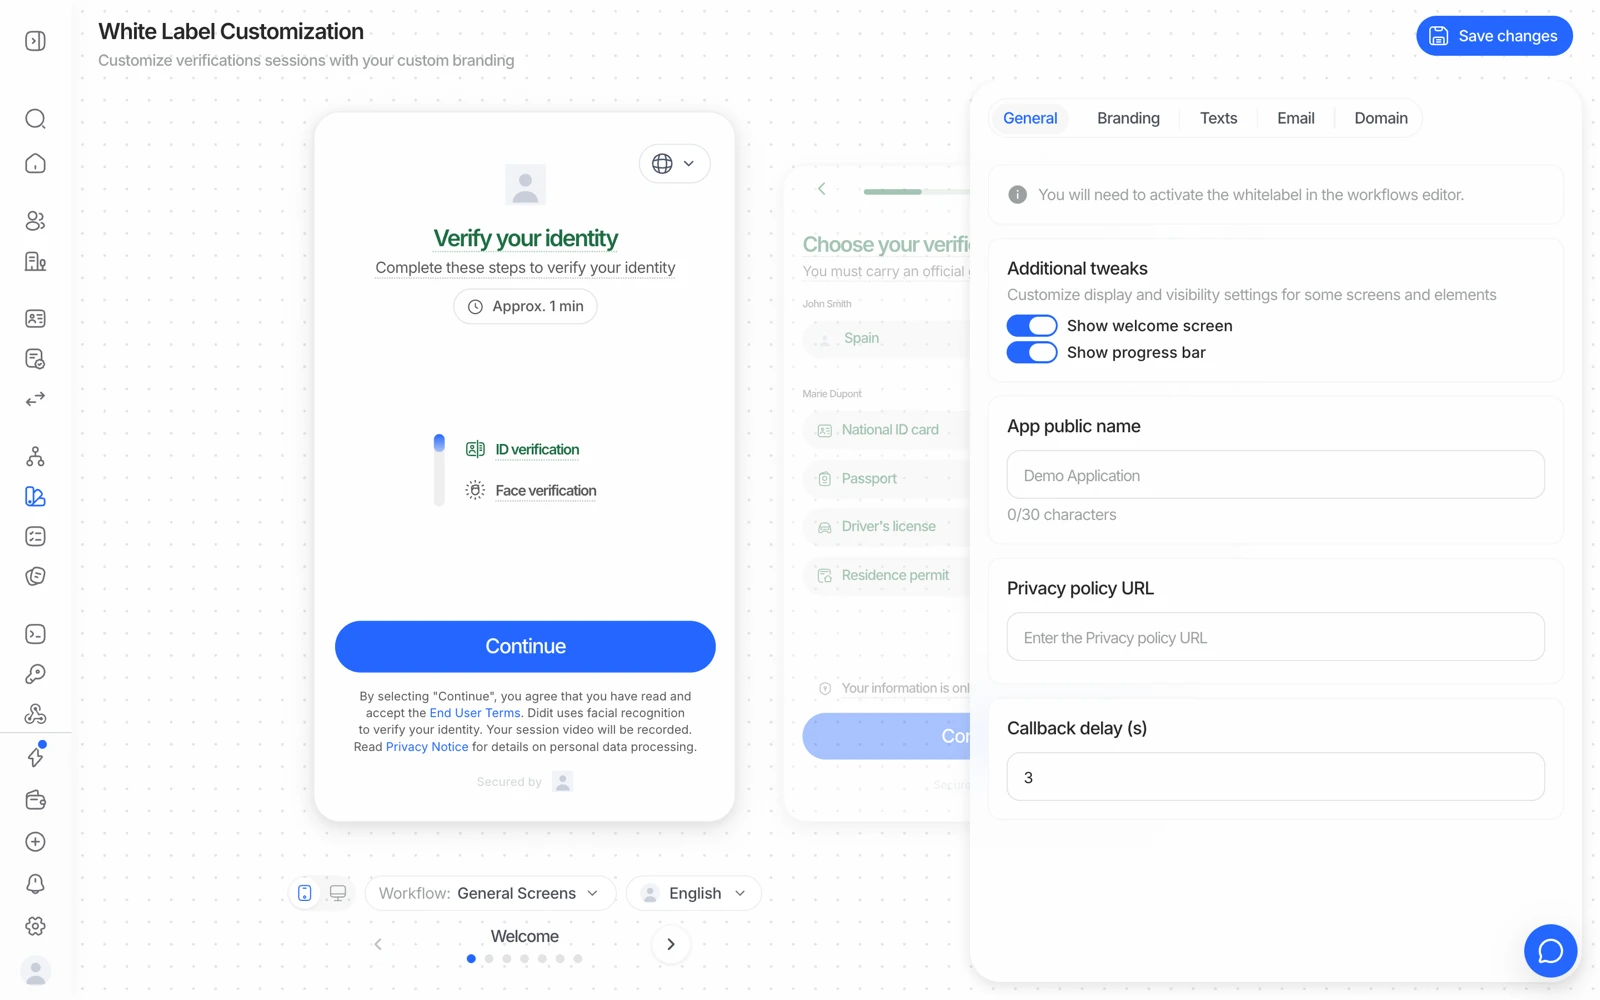
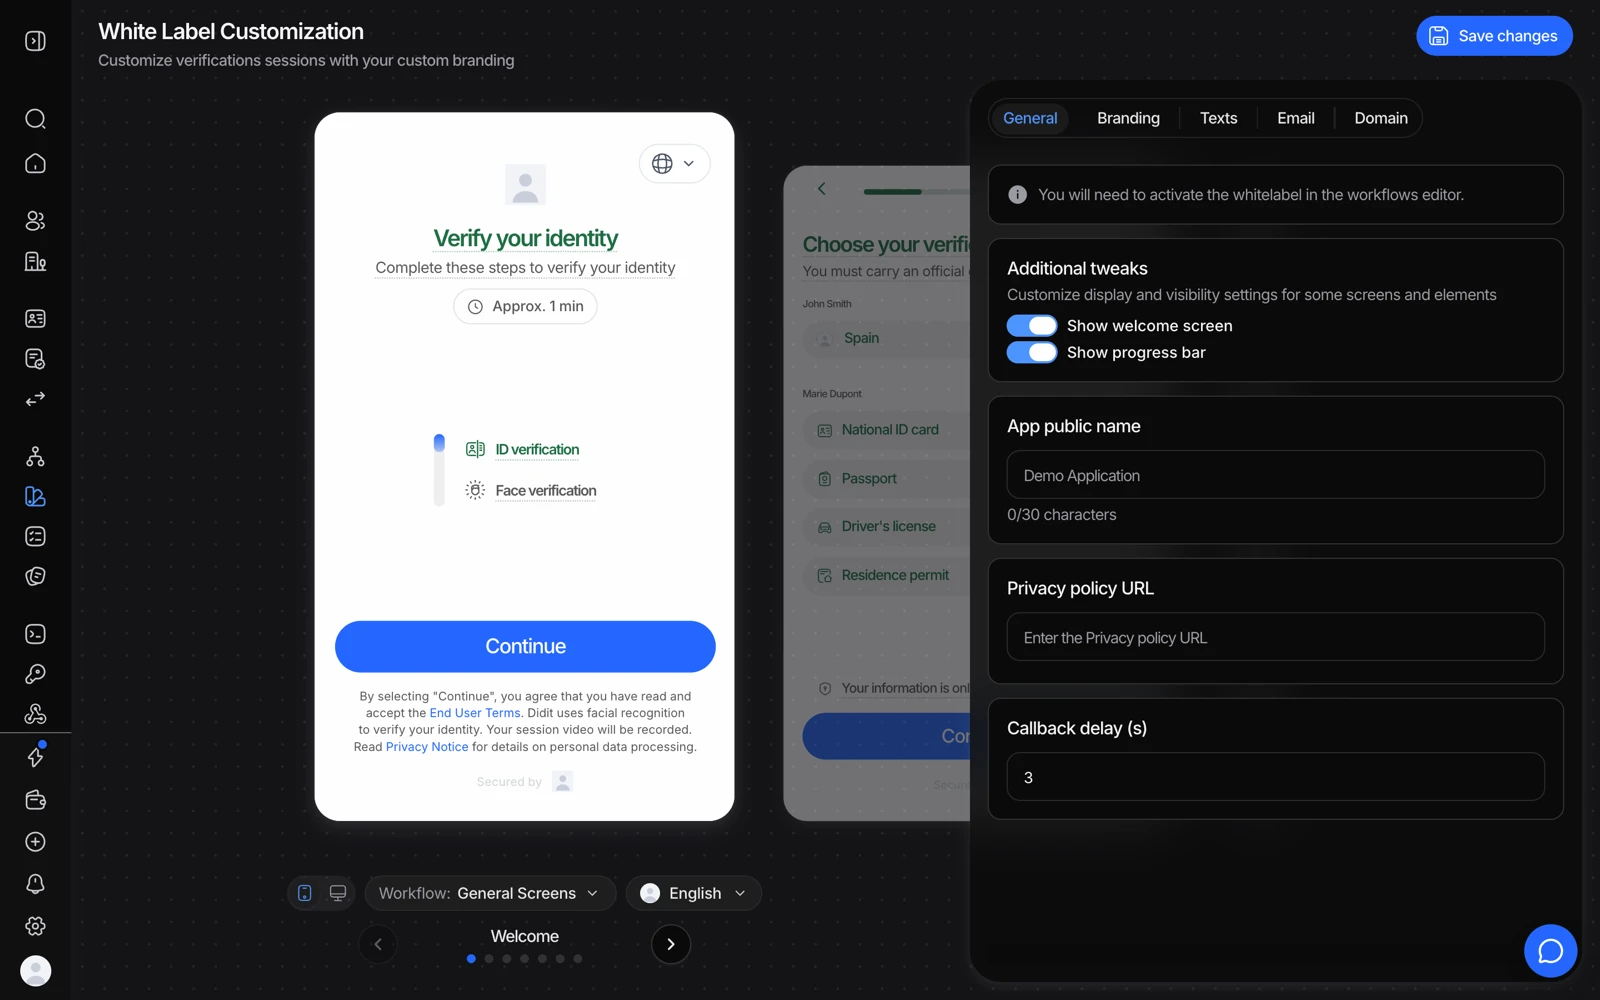
- Branding holds the logo and colours your users see.
- Texts overrides the wording, per language.
- Toggles like these change the flow itself, not just its look.
- Nothing applies until Save changes - and white label has to be switched on in the workflow too.
#Setting it up
- Open the Style Editor
In the Business Console, go to White Label > Style Editor.
- Set your colors, logo, and fonts
Use the live preview to see changes as you make them, and upload both logo formats - square and rectangular. Uploading only one is a common cause of a logo that renders correctly on some screens and not others.
- Override text if you need to (optional)
The Texts tab replaces the wording of specific verification-flow strings - welcome screen, document selection, capture, selfie intro, questionnaire navigation - without you having to fork translations for every locale.
- Turn it on for the workflow
This is the step people miss. Open the workflow you want branded, go to Settings > Options, and enable Include custom style. Without this, that workflow still shows default Didit branding even if you've designed a custom style.
Custom style is enabled per workflow, not account-wide. If you have several workflows, check this toggle on each one you want branded. This is the single most common cause of "I set up branding and the flow still looks like Didit."
#What can't be changed
- The "Secured by" line and the favicon. The small "Secured by" text at the bottom of the flow and the browser favicon are the one visible trace of the provider that white label does not remove today. There is no setting for either; if it matters for your case, tell support so the request is counted.
- One custom style per organization. The Style Editor holds a single base style, so there is no separate light and dark variant that follows the user's system setting. Pick a palette that reads well in both, or keep the branding to logo and accent colours.
#Access requirements
Changing customization needs write access to Customization. A teammate with read-only access sees the section disabled rather than getting an error - so if the editor looks inert, check the role before reporting a bug. See inviting team members and setting roles.
#It costs $0.20 per verification
White label is a billable feature at $0.20 per completed verification, and it is not in the free tier. Two consequences worth knowing before you turn it on:
- A workflow that was free becomes a paid workflow the moment custom style is enabled, which is a very common cause of an unexpected "not enough credits" error. See fixing a "not enough credits" error.
- The $0.20 is additive, on top of the per-module prices. A white-labelled flow running ID verification is $0.20 + $0.15, not $0.20 total.
#What branding doesn't change
White-labelling changes how the flow looks, not who's responsible for it. You're still expected to:
- Tell the person that your company is requesting the verification, and that a provider powers it behind the scenes.
- Link your own privacy notice alongside Didit's.
- Collect the consent your legal team requires before document, selfie, or biometric capture.
A custom domain or a fully custom UI doesn't remove these obligations - it means the disclosures need to live in your own interface instead of Didit's default screens. See how Didit protects your users' data.
#Next steps
- Serve the flow from your own subdomain: white label and custom domain
- Build or adjust the workflow you want to brand: building a verification workflow
- Full setup reference: White label