
Verify identity with digital ID wallets
Set up eID verification, check wallet availability by country, and guide users through Smart-ID, Mobile-ID and Finnish Trust Network sign-in.
Digital ID wallets let a person verify their identity using an existing national eID or supported bank identity. Choose the accepted wallets for each country in your workflow's ID Verification step. Only methods available in your environment can be enabled for real verification.
An identity wallet confirms who a person is. It is different from a cryptocurrency wallet, which is covered by wallet screening. A wallet verification can replace document capture when your workflow accepts it, while the remaining checks continue according to your workflow.
#Check wallet and country availability
Open the Countries tab of the ID Verification step and select a country to see its supported methods. A Coming soon label means that wallet cannot be used for live verification yet. A price or a successful sandbox simulation does not establish production availability.
The digital ID wallet coverage table is the technical reference for current production support. The following wallets are available:
| Wallet | Countries |
|---|---|
| Smart-ID | Estonia, Latvia, Lithuania and Belgium |
| Mobile-ID | Estonia and Lithuania |
| Finnish Trust Network | Finland |
| MitID | Denmark |
iDIN, ConnectID, Estonian ID-card, eParaksts and the other planned integrations remain Coming soon. Choose the wallets your workflow accepts for each country in the console. See wallet pricing for published rates; an available wallet without a published rate shows On request.
#Add wallets to a workflow
- Open the ID Verification step
Go to Workflows in the Business Console, open your workflow, and select its ID Verification step.
- Choose the country and identity methods
In Countries, select the country and enable the available wallets you want to accept. Keep document verification enabled if users should also be able to scan a supported identity document.
- Save and test the flow
Save your changes and create a new test session. Check the wallet choice, successful return, cancellation, and document fallback before using the workflow with customers.
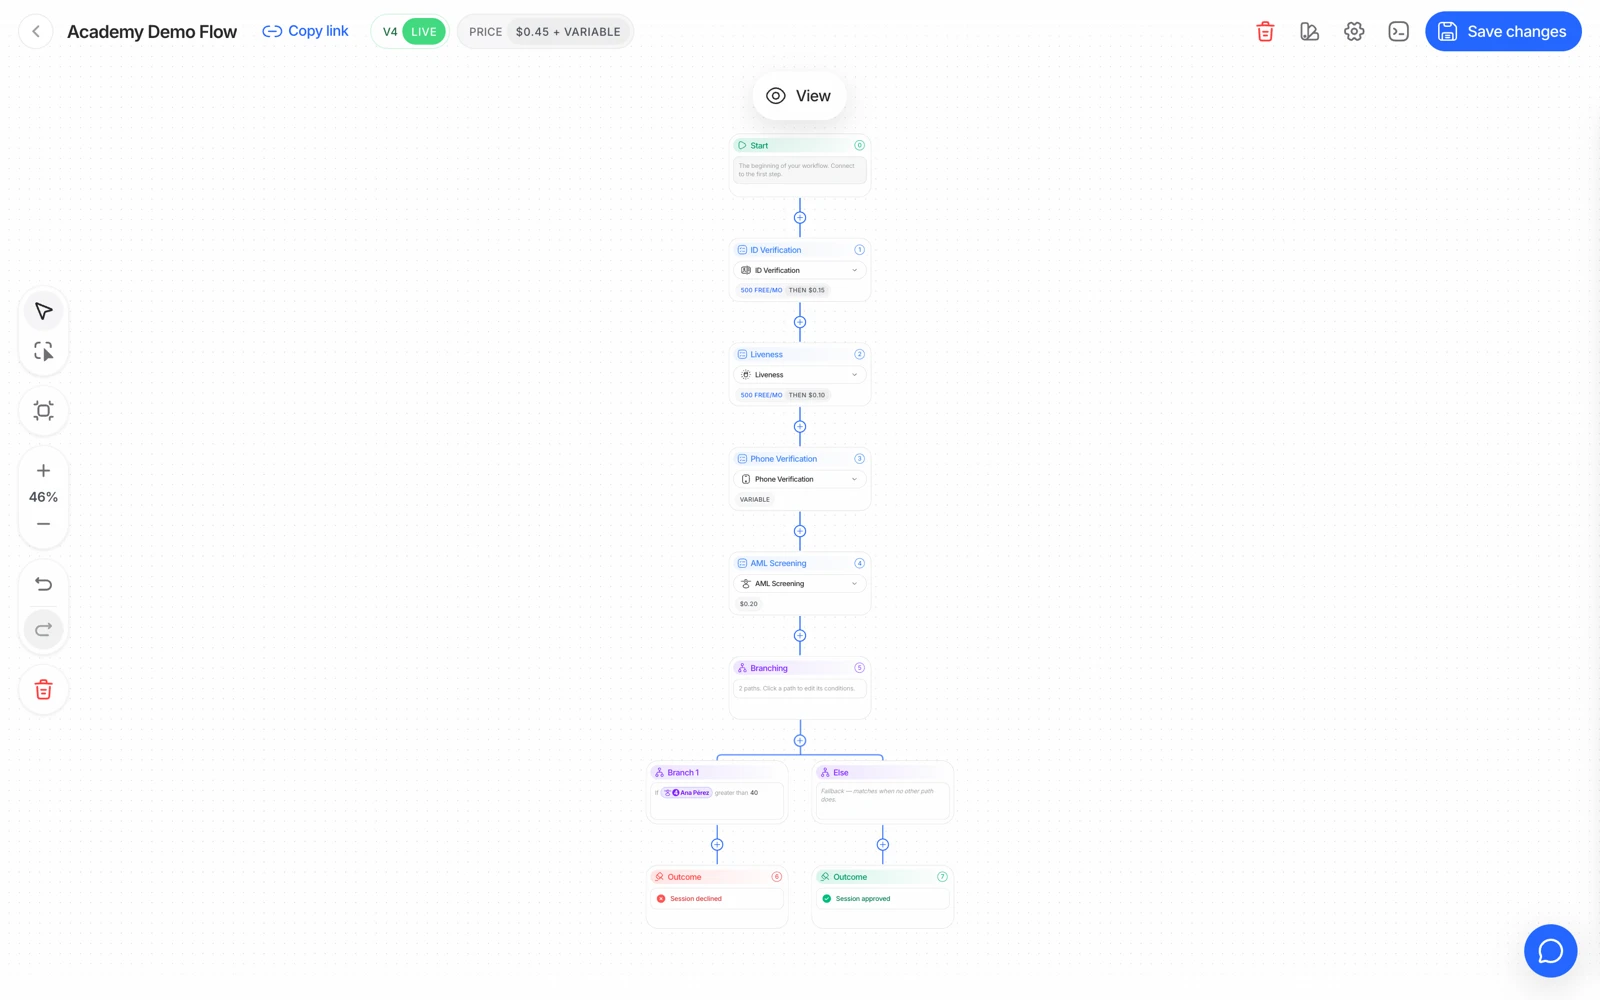
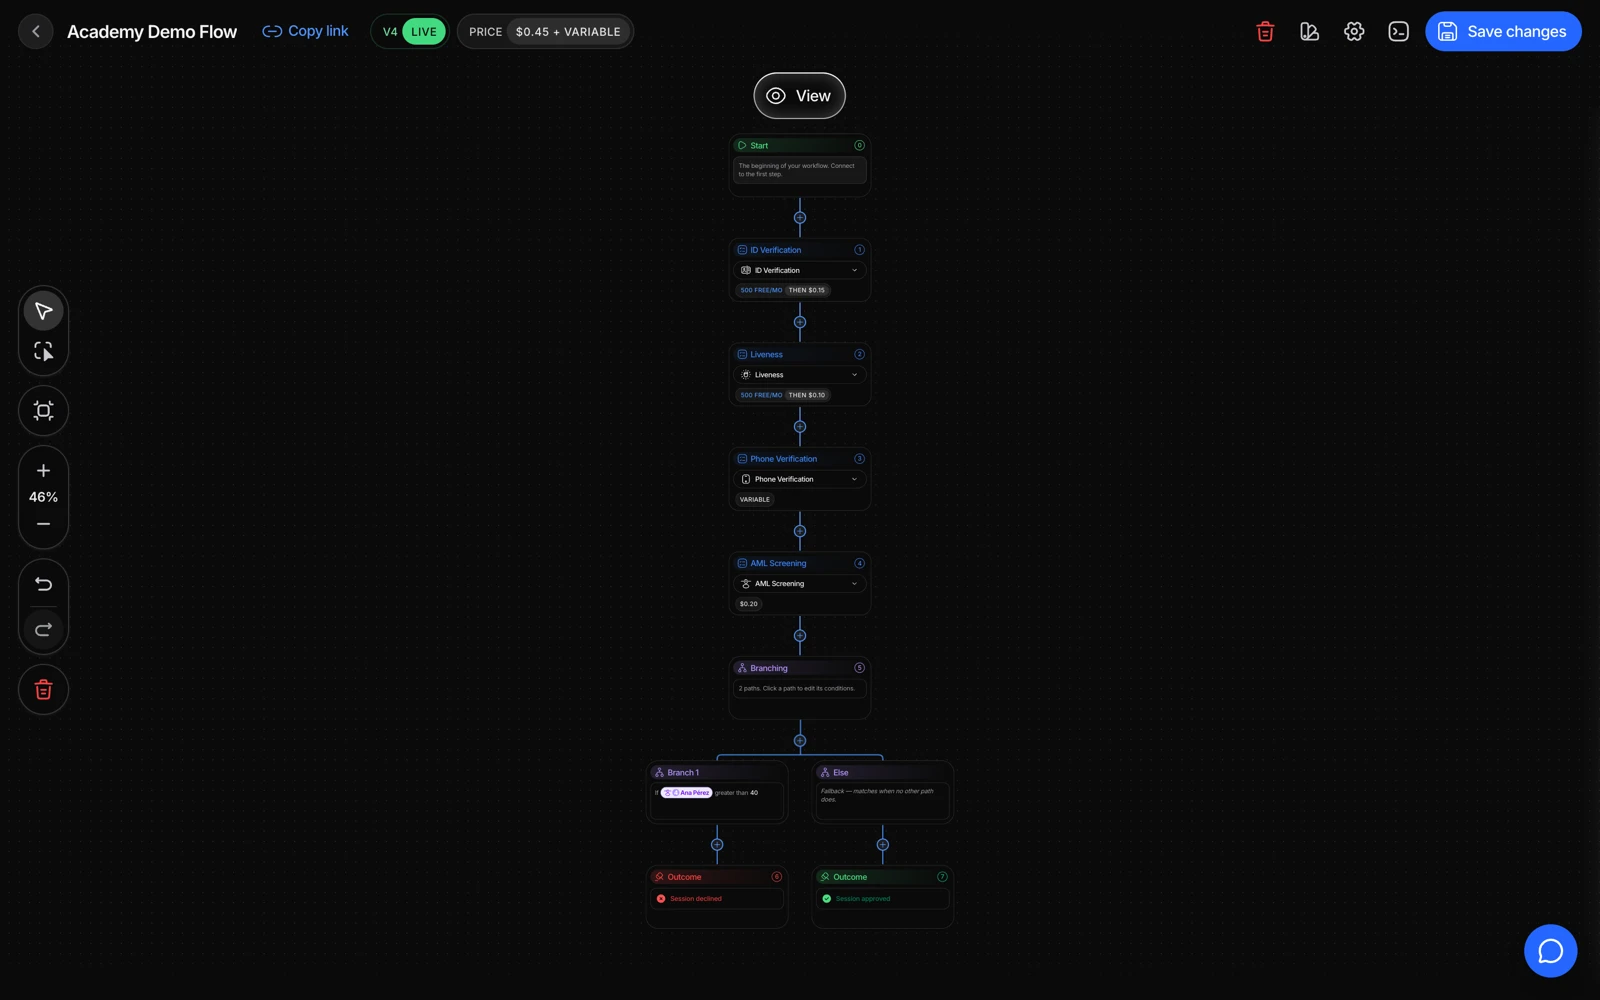
Selecting several wallets lets eligible users choose the method they already have. If only one method is accepted, the flow may open it directly. If no suitable method is available, review the country's accepted methods or offer document verification.
#What users see with Smart-ID and Mobile-ID
Smart-ID asks for the person's personal code. Mobile-ID asks for their personal code and phone number, including the country calling code. The person must already have the selected identity service activated.
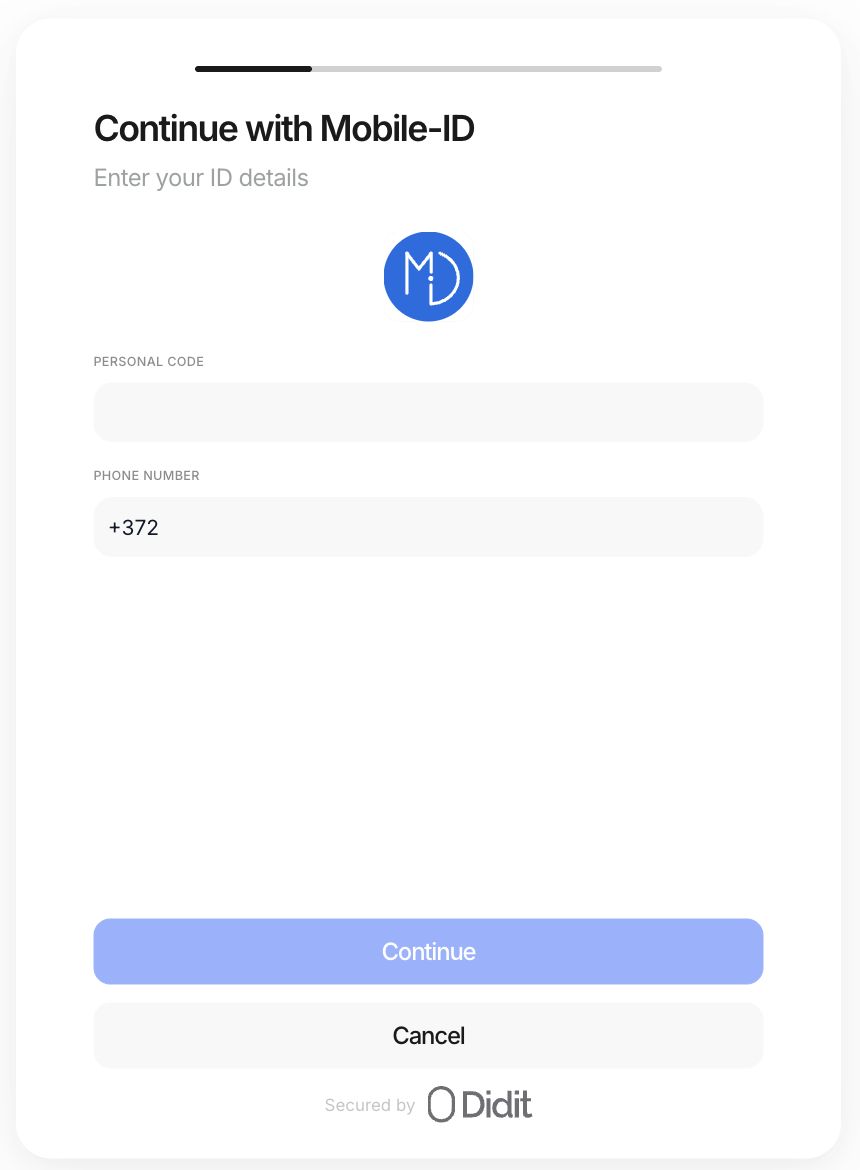
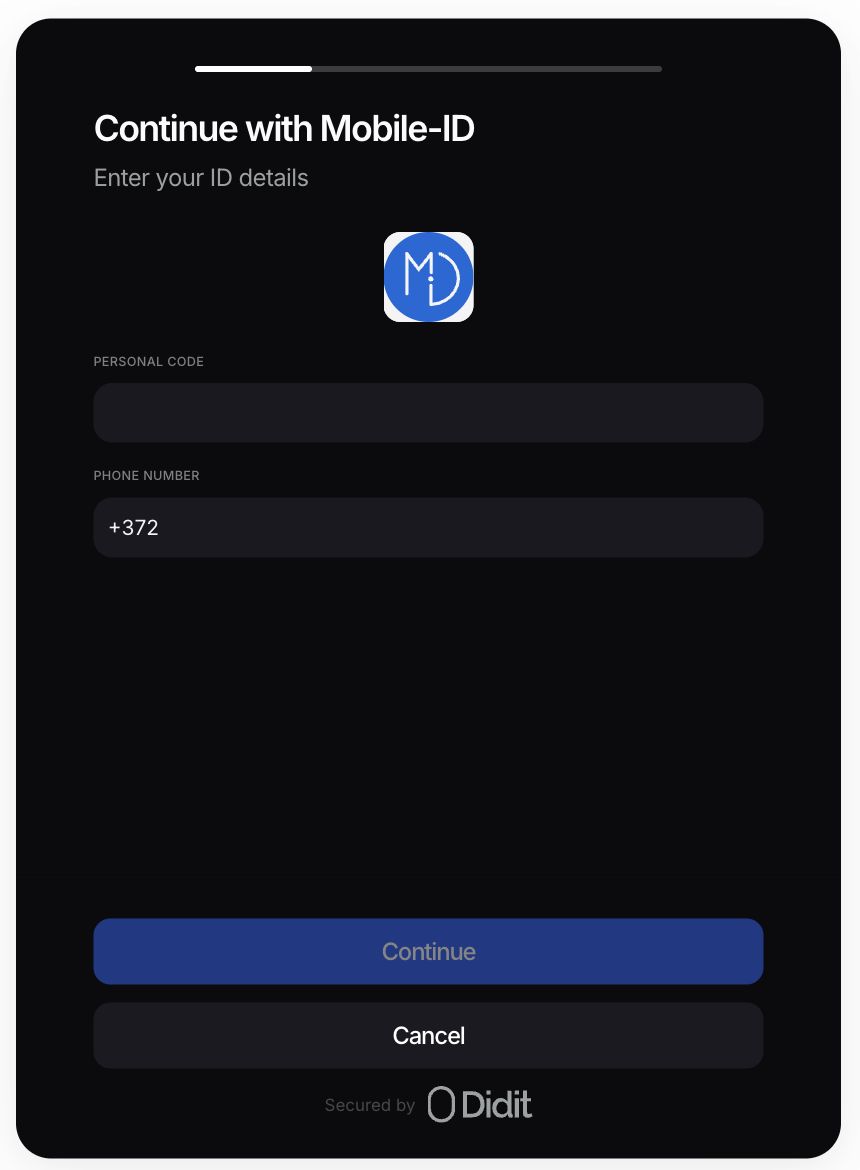
After starting the request, the verification screen displays a comparison code. The person checks that it matches the code on their phone and approves the request there. Their PIN is entered only in the identity service on their phone, never in the Didit form.
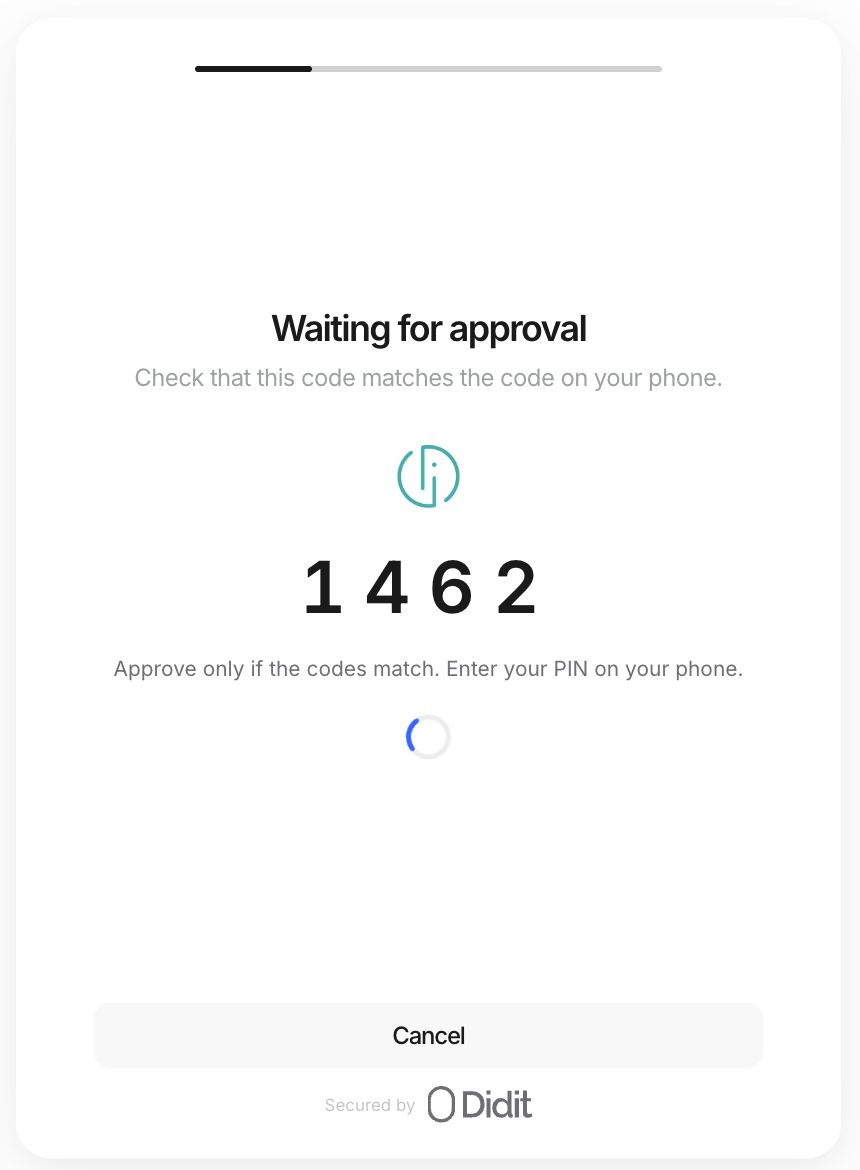
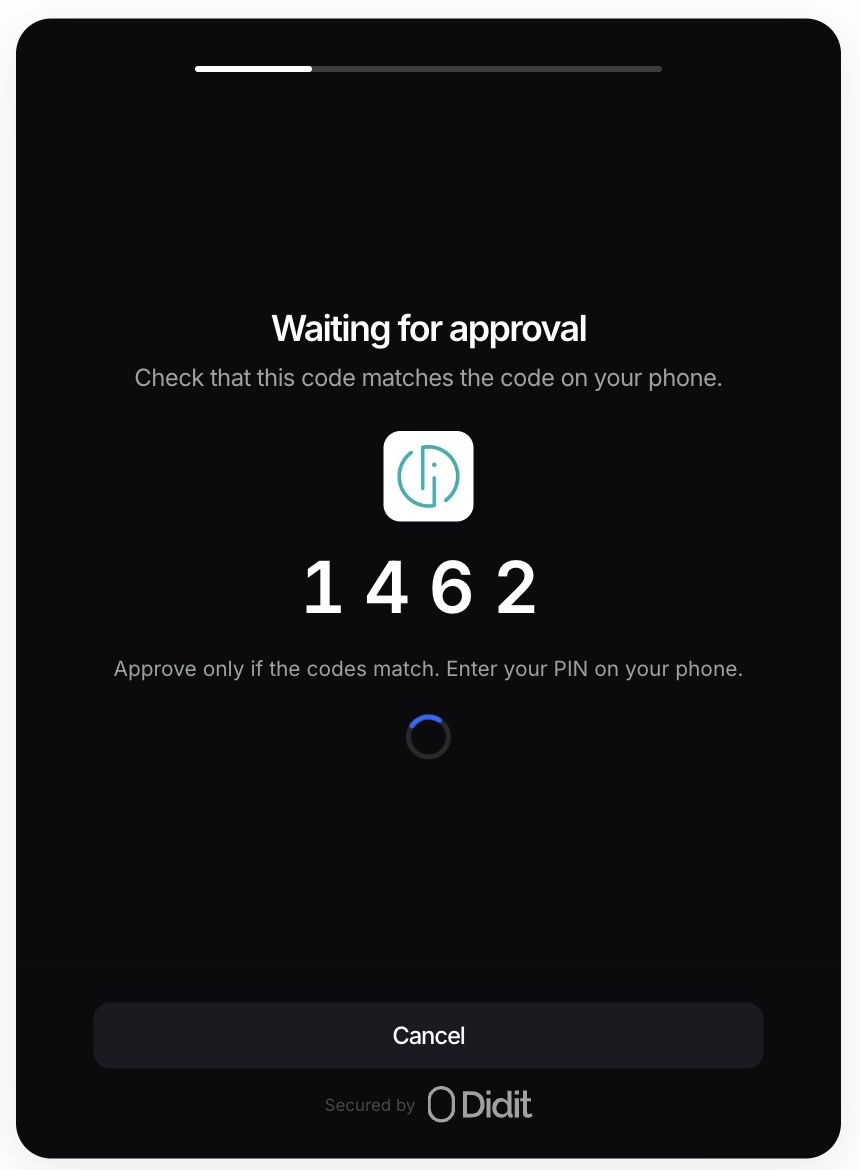
The session continues only after the verification result is received and validated. Closing or canceling the phone request does not count as a successful verification. Refreshing the page during a pending Smart-ID or Mobile-ID request restores its current status.
#How Finnish Trust Network works
For Finland, Finnish Trust Network lets the person choose a participating bank or mobile certificate method. They authenticate with that service and return to the verification flow. Didit reads the verified identity and continues with the checks configured in the workflow. Bank login credentials and confirmation codes belong in the bank's own authentication experience.
#Branding and custom domains
The wallet choice and Smart-ID or Mobile-ID entry, waiting and result screens use the same verification components as the other accepted identity methods. They use the workflow's configured colors, fonts, buttons and logo when custom style is enabled. See customizing branding and custom domains.
An external bank or identity app controls its own authentication screens. Your custom branding applies to the Didit verification screens, and the person returns to the session after authentication.
#If a wallet request fails
- The codes do not match: cancel the request and start again. Do not approve an unexpected request.
- The request expires: retry and keep the phone nearby to complete the new request.
- The personal code or phone number is rejected: check the details and confirm the person has the selected service activated in that country.
- The person cannot use the wallet: choose Scan your ID document if document fallback is enabled.
- The wallet is coming soon or missing: check the country and environment. Support can clarify availability, but enabling a workflow setting cannot activate an unavailable service.
If the problem persists, contact support from the console with the session ID, wallet name, country and visible error. Never send a PIN, bank password or one-time banking code.
#Results and pricing
A completed wallet check appears in the session's ID verification result. The identity attributes available depend on the selected wallet; not every wallet returns a portrait or address. A successful wallet check also does not automatically approve the entire session if other checks remain.
See the wallet pricing and billing rules for per-wallet charges and the technical integration guide for API configuration.